Guide: Launching EmulationStation/RetroPie from within Kodi on Raspbian (The XBone, part 2)
So you've got your Raspberry Pi to display a glorious ‘XBone’ splash screen, but what kind of bone would it be if it couldn't play games? Kodi looks kind of like a console UI, and with RetroPie, we can launch games, but how can we put them together?
The internet suggests launching Kodi from within RetroPie's EmulationStation, and exiting out of it to return to EmulationStation to launch games, but what if we want that smooth Kodi UI to be the centre of our system? It turns out it is possible, albeit a little tricky.
The guide
So you don't like systemd, eh?
The default setup for launching Kodi from Raspbian at startup seems to be through an init/systemd service. I had extreme difficulty getting this to work with EmulationStation, as EmulationStation and its various emulators seem to want to be started from a tty. It's also a real pain to get Kodi to exit when using the default scripts, which will be important later.
Thus, I've drawn from my extensive experience hacking up bodges on Arch Linux to bring you this glorious script:
if [ -z "$DISPLAY" ] && [ -n "$XDG_VTNR" ] && [ "$XDG_VTNR" -eq 2 ]; then
	export VT_SHELL_PID=$$
	/usr/lib/kodi/kodi.bin

	# We will be closing Kodi programmatically to launch EmulationStation, but we won't want the shell to exit
	while true; do
		sleep 60
	done
fi
Stick that at the top of your ~/.bash_profile file to launch Kodi automatically once logged in on tty2, recalling that tty1 is where we've got our nice splash screen playing.
Now, in order to launch Kodi automatically on boot, we need to configure getty to automatically log into tty2 on boot, to trigger the above script. Create a new file at /etc/systemd/system/getty@tty2.service.d/autologin.conf with the following contents:
[Service]
ExecStart=
ExecStart=-/sbin/agetty --autologin runassudo --noclear %I $TERM
Replace runassudo with your username (the user running Kodi, and the user whose .bash_profile contains the above script).
Now, disable Kodi's default init/systemd service, and enable getty on tty2:
sudo systemctl disable kodi
sudo systemctl enable getty@tty2
Reboot, and if all goes well, we should be right back where we started, with Kodi starting up as normal. Wonderful progress!
Stop Kodi messing with the input
Because Kodi expects to have uncontested dominion over the entire system, it automatically grabs all the available udev input devices, preventing EmulationStation from using them. Although we will later close Kodi before launching EmulationStation, which should prevent this issue, I nevertheless experienced difficulties. The easiest way to overcome this is to simply prevent Kodi from accessing the input devices, provided you have some other way of controlling Kodi (a TV remote via CEC, for example).
When installing Kodi, Michael Gorven instructed us to place the following file at /etc/udev/rules.d/99-input.rules:
SUBSYSTEM=="input", GROUP="input", MODE="0660"
KERNEL=="tty[0-9]*", GROUP="tty", MODE="0660"
The top line restricts access to the /dev/input/event* input devices to members of the input group. We then added our user to the input group to allow Kodi access to the input devices. We now want to undo this:
sudo gpasswd -d runassudo input
After rebooting, Kodi will now not have access to the input devices, and so can't lock other applications out of them. In order to allow EmulationStation access still, we will run sudo -u runassudo -g input /usr/bin/emulationstation instead of the usual command.
Of course, we now need to give our regular user access to this sudo command without a password. Run sudo visudo and add the following line:
runassudo ALL=(runassudo:input) NOPASSWD: ALL
This allows the runassudo user to execute any command using sudo -u runassudo -g input. (If you wanted to be more strict, you could replace the final ALL with /usr/bin/emulationstation to limit the scope, but EmulationStation can spawn any application, so it's a moot point. And sudoing into the input group is considerably less notable than sudoing to the root account, in any case.)
Launching EmulationStation
Now let's put together the script that will launch EmulationStation.
Kodi and the EmulationStation main GUI use direct access to the graphics hardware, but most normal applications, including the emulators I was using, go through the framebuffer/tty instead. This causes issues, as the former overrides the latter. You can see the problem in action by trying to switch VTs using Ctrl+Alt+F1/F2/F3/etc. while Kodi is running. The VT is switching, but is doing so ‘behind’ the Kodi GUI, so appears invisible. If Kodi goes into idle mode and fades the screen, you might be able to see the VT behind what's left of the Kodi GUI.
To combat this, we need to exit Kodi before launching EmulationStation. Kodi doesn't appear to respect kill signals, and simply using kill -KILL to forcibly terminate Kodi causes the GUI to linger any way. Thankfully, using Kodi's JSON-RPC API, we can request that Kodi exit gracefully:
curl -X POST -d '{"jsonrpc": "2.0", "method": "Application.Quit", "id": '$RANDOM'}' -H 'Content-Type: application/json' 'http://127.0.0.1:8080/jsonrpc'
Then we can wait for Kodi to exit:
while pkill -0 kodi.bin 2>/dev/null; do sleep 1; done
And finally launch EmulationStation:
sudo -u runassudo -g input /usr/bin/emulationstation
Once EmulationStation has closed, we can restart Kodi. Unfortunately, when exiting, Kodi doesn't seem to release all its resources. After restarting it once, Kodi has trouble starting the JSON-RPC service, and attempting to exit Kodi using JSON-RPC closes the JSON-RPC server socket, but the Kodi process does not exit. Then, after forcibly restarting it, Kodi fails to initialise the CEC devices, and everything breaks.
Thankfully, this problem appears to be solved by logging out of the tty. Since we can't kill the login process (which is owned by root), we now do the next best thing, and kill the original bash shell, whose PID we cleverly saved earlier:
kill -KILL $VT_SHELL_PID
This will induce a logout on the tty, and allow getty to log back in automatically and restart the cycle.
Putting it all together in a script somewhere, say /usr/local/bin/runEmulationStation:
#!/bin/bash
curl -X POST -d '{"jsonrpc": "2.0", "method": "Application.Quit", "id": '$RANDOM'}' -H 'Content-Type: application/json' 'http://127.0.0.1:8080/jsonrpc'
while pkill -0 kodi.bin 2>/dev/null; do sleep 1; done
sudo -u runassudo -g input /usr/bin/emulationstation
kill -KILL $VT_SHELL_PID
Make sure it's executable, and away we go!
Connecting the pieces
All that remains now is to allow Kodi to call that script. We could use Advanced Launcher, but hey, we've bodged our way this far, why not keep going? It also gives us finer-grained control over how we want our XBone to look.
To do so, we need to modify the Kodi skin. Make a copy of your skin, for example /usr/share/kodi/addons/skin.estuary, and copy it to the ~/.kodi/addons folder under a different name, for example ~/.kodi/addons/skin.myestuary.
From within that folder, edit addon.xml to replace the details in the <addon> opening tag with your own. For example, change id to skin.myestuary and name to My Estuary.
Then, find somewhere to add your new button. For example, for the Estuary skin, in the xml/Home.xml file, locate the definition of the home page sidebar, and add a new item:
<item>
	<label>$LOCALIZE[10134]</label>
	<onclick>ActivateWindow(favourites)</onclick>
	<property name="menu_id">$NUMBER[14000]</property>
	<thumb>icons/sidemenu/favourites.png</thumb>
	<property name="id">favorites</property>
	<visible>!Skin.HasSetting(HomeMenuNoFavButton)</visible>
</item>
<item>
	<label>$LOCALIZE[8]</label>
	<onclick condition="!String.IsEmpty(Weather.Plugin)">ActivateWindow(Weather)</onclick>
	<onclick condition="String.IsEmpty(Weather.Plugin)">ReplaceWindow(servicesettings,weather)</onclick>
	<property name="menu_id">$NUMBER[15000]</property>
	<thumb>icons/sidemenu/weather.png</thumb>
	<property name="id">weather</property>
	<visible>!Skin.HasSetting(HomeMenuNoWeatherButton)</visible>
</item>
<!-- Add this item below -->
<item>
	<label>EmulationStation</label>
	<onclick>System.Exec("/usr/local/bin/runEmulationStation")</onclick>
	<thumb>icons/sidemenu/weather.png</thumb>
	<property name="id">emulationstation</property>
	<visible>True</visible>
</item>
I've cheated and reused the Weather icon, but you could add your own custom icon and use that instead for the thumb tag.
Now, restart Kodi, and head to the Add-on browser (specifics will differ based on skin and version). Then, under My add-ons → Look and feel → Skin, select your new skin, hit Enable, then hit Use.
If all goes well, after navigating back to the home screen, you should see your new EmulationStation button which, when pressed, should quit Kodi, and shortly thereafter, launch EmulationStation. After quitting EmulationStation, Kodi should relaunch.
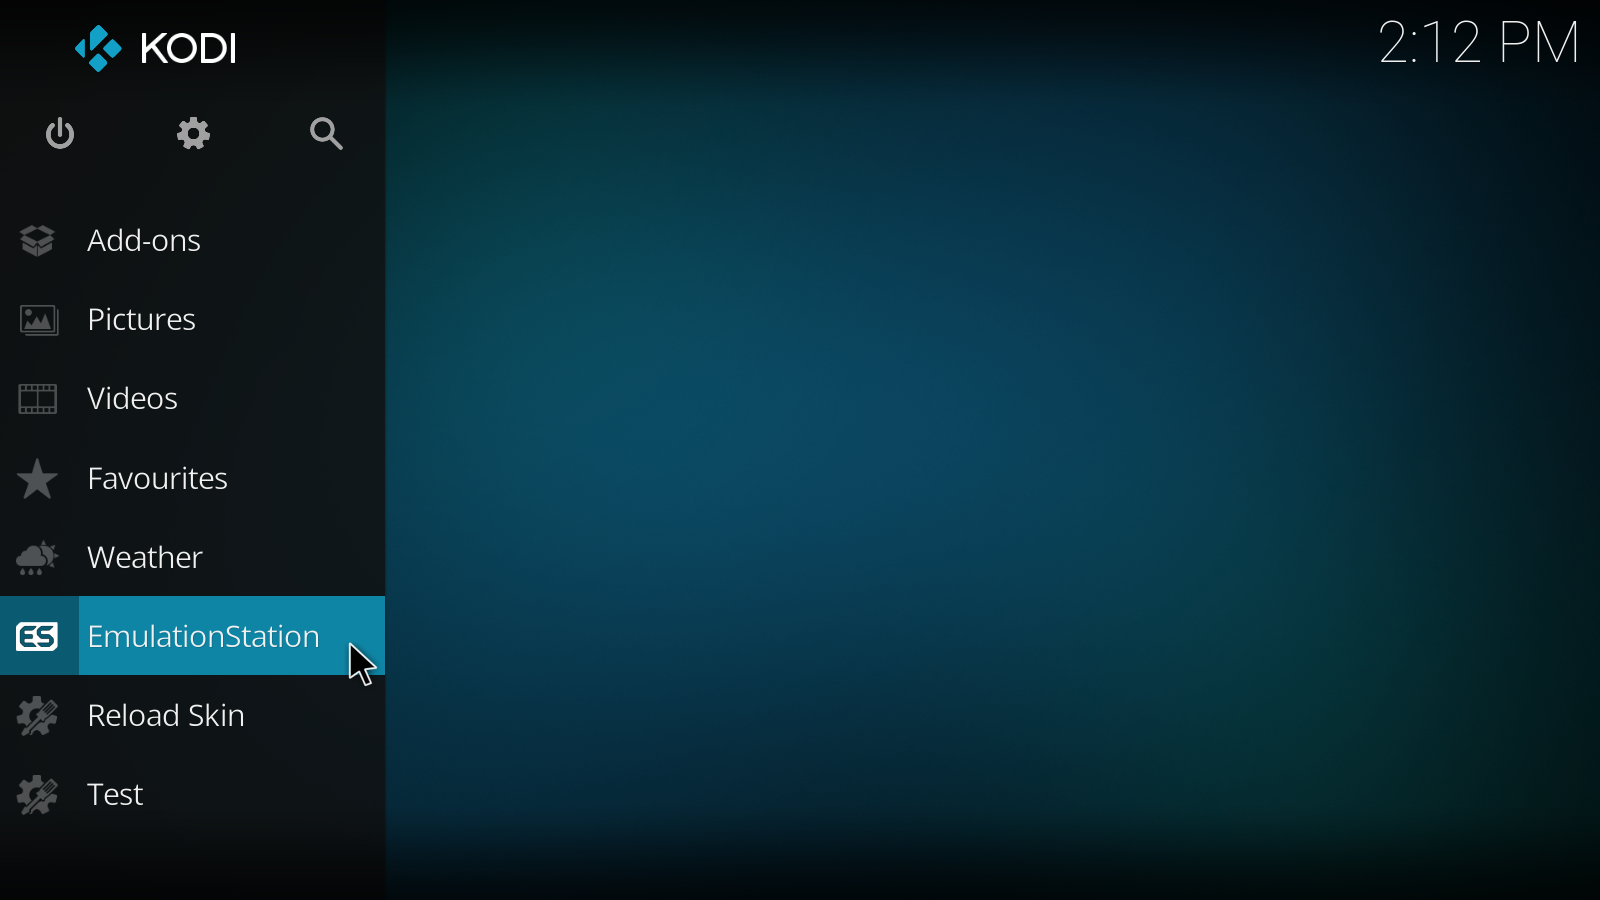
Yeah, so I put a few extra buttons in mine. Sue me.