Hacking the Kobo Clara HD – 4.1: Telnet over USB
Last time, we gained root telnet access to the Clara HD over WiFi; however, the connection can be quite temperamental. We will now use this to set up a network connection over USB, allowing for telnet access over a secure USB channel.
Set up on the Clara HD
Thankfully, the Clara HD already ships with drivers to accomplish this, namely /drivers/mx6sll-ntx/usb/gadget/g_ether.ko and its dependencies.
To simplify the process, we can telnet into the Clara HD and create /opt/usbtoeth with the following contents:
#!/bin/sh
insmod /drivers/mx6sll-ntx/usb/gadget/configfs.ko
insmod /drivers/mx6sll-ntx/usb/gadget/libcomposite.ko
insmod /drivers/mx6sll-ntx/usb/gadget/u_ether.ko
insmod /drivers/mx6sll-ntx/usb/gadget/usb_f_ecm.ko
insmod /drivers/mx6sll-ntx/usb/gadget/usb_f_eem.ko
insmod /drivers/mx6sll-ntx/usb/gadget/usb_f_ecm_subset.ko
insmod /drivers/mx6sll-ntx/usb/gadget/usb_f_rndis.ko
insmod /drivers/mx6sll-ntx/usb/gadget/g_ether.ko
ifconfig usb0 192.168.2.2
The insmod calls will load g_ether.ko and its dependencies, switching the USB port on the Clara HD to an Ethernet networking mode. The ifconfig call will set the IP address of the Clara HD on this Ethernet interface.
Make this file executable by running:
chmod +x /opt/usbtoeth
Now we can activate the USB Ethernet interface at any time on the Clara HD by running (over telnet):
/opt/usbtoeth
Set up on the host computer
If we now connect the Clara HD to the host computer via USB, the new network interface should be detected. For example, on Linux, running lsusb should show something like:
Bus 001 Device 074: ID 0525:a4a2 Netchip Technology, Inc. Linux-USB Ethernet/RNDIS Gadget
iproute2 (ip)
To activate the network connection using iproute2 (e.g. Arch Linux), run ip link and identify the newly-added network connection, e.g. usb0 or enp0s20f0u2. Now run, e.g.:
sudo ip addr add 192.168.2.1 broadcast + dev enp0s20f0u2
sudo ip route add 192.168.2.0/24 dev enp0s20f0u2
This will set the IP address on the host side of the connection, and route all requests to 192.168.2.xxx over this connection.
We can automate this process with a bash script:
DEV=$(ip link | grep 'enp[^ ]*u' | awk '{print $2}' | tr -d ':')
sudo ip addr add 192.168.2.1 broadcast + dev $DEV
sudo ip route add 192.168.2.0/24 dev $DEV
(Replace the grep search string on the first line as appropriate.)
net-tools (ifconfig)
To activate the network connection using the legacy ifconfig tool, run ifconfig and identify the newly-added network connection, e.g. usb0. Now run, e.g.:
ifconfig usb0 192.168.2.1
Network with the Clara HD over USB
Now that the connection has been established, we should be able to ping the device, and telnet into the telnet server:
telnet 192.168.2.2
Stopping the USB networking
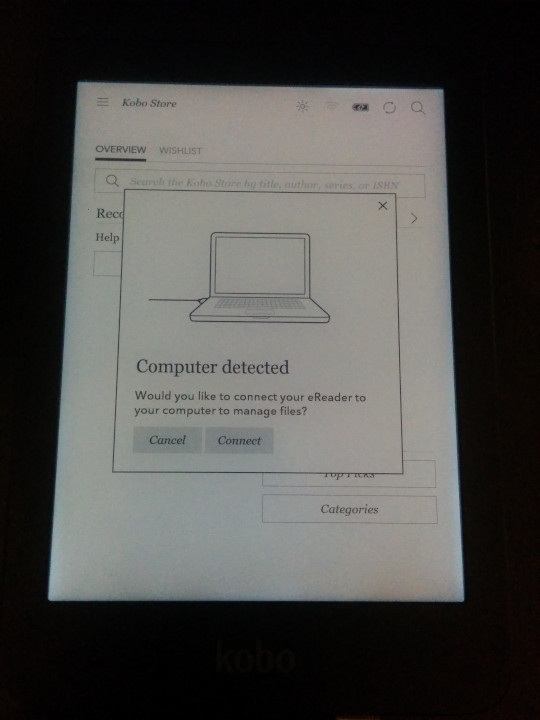
While the USB networking is active, we will be unable to use the Clara HD normally to transfer files over USB. In order to accomplish this, we must stop the USB networking before switching to file transfer mode (by tapping Connect in the Computer detected dialog box).

The process is essentially the same as connecting, but in reverse. On the Clara HD, create an /opt/usbtosd file with the following contents:
#!/bin/sh
ifconfig usb0 down
rmmod g_ether usb_f_rndis usb_f_ecm_subset usb_f_eem usb_f_ecm u_ether libcomposite configfs
Make it executable:
chmod +x /opt/usbtosd
And now, to stop the USB networking, simply run:
/opt/usbtosd
If doing so from a telnet session over USB, this will cause the telnet session to hang indefinitely as the connection is closed, so type Control+], and type quit at the telnet> prompt.